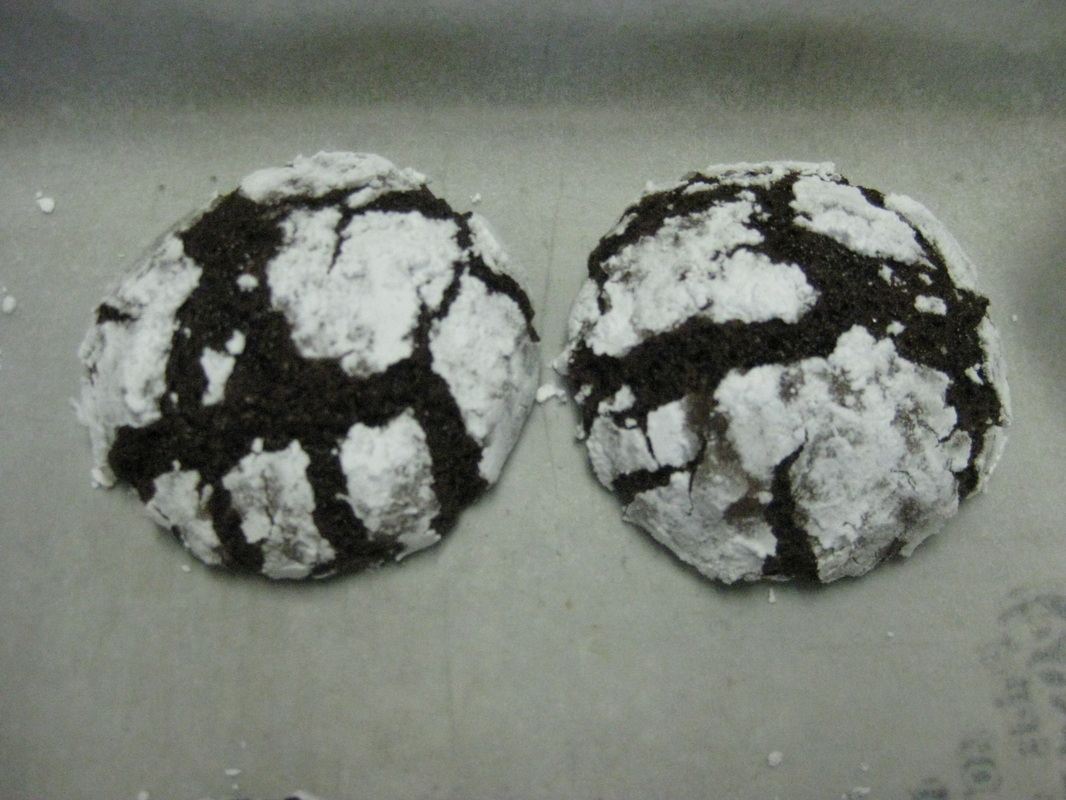
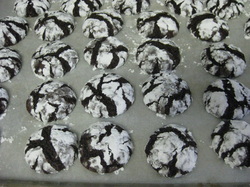
Just-crispy edges, soft chewy chocolatey inside, powdery sweet coating…. As a chocoholic I adore this cookie. Growing up I always heard it called ‘crinkle cookie’, I suppose due to the crinkled look it has as the cookie bakes and ‘cracks’ and the icing sugar topping becomes zig-zaggy (if that isn’t a word I just invented it). As an adult, my best friend Charlotte (aka Cupcake Princess!) told me it’s her favourite cookie to make but she called them chocolava cookies. Whatever you decide to call it, this confection is a delicious chocolate explosion, so a couple of weeks ago when my brother Chef Ari (expert on all things cooking) sent me this recipe, titled 'Chocolava Cookies' I knew I had to make it.
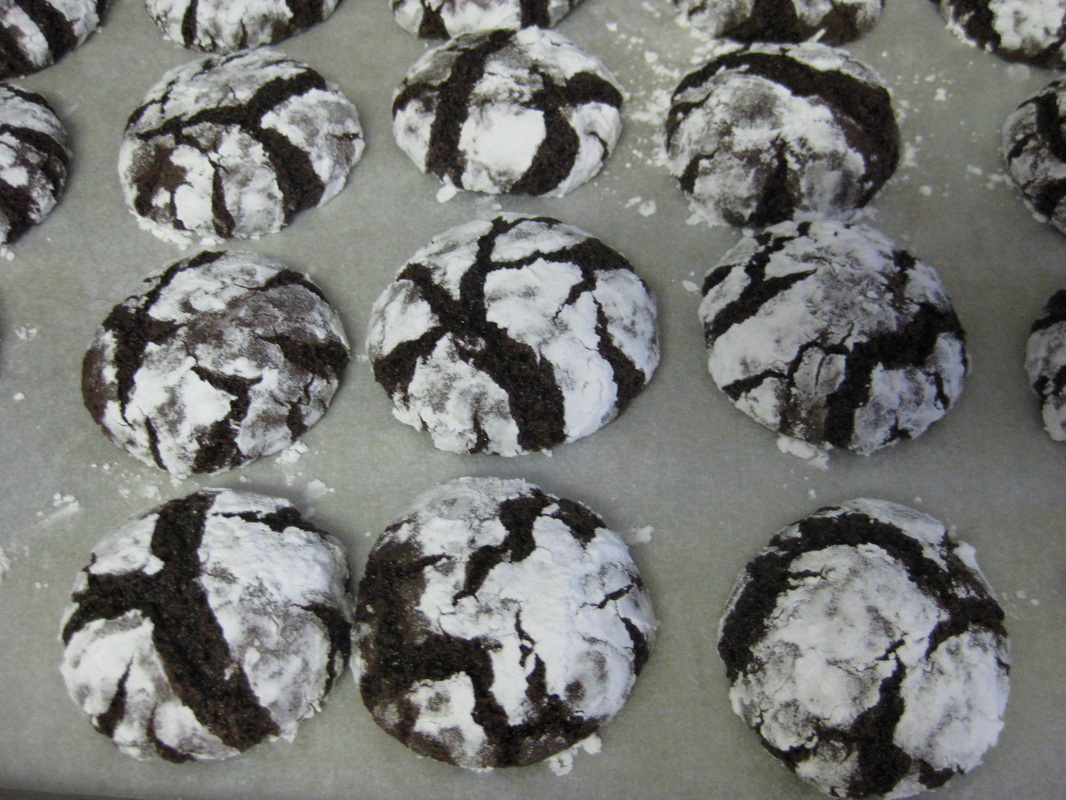
I made this recipe for the first time this December and when I saw how easy it was - no need for a mixer! - and how deliciously fudgy every bite was I could have kicked myself for not making it sooner. Growing up, this was a very popular cookie that I often saw at my friends' houses and at engagement parties, and it always looked elegant and beautiful. I honestly have no idea why I never attempted it. Actually, writing this, I think it's either I was intimidated (each one looked so perfect!) or perhaps something that popular didn't appeal to my I-don’t-want-to-make-what-everyone-else-is-making attitude. In any case, this will become your family favourite for all ages.
Chocolava Cookies aka Crinkle Cookies
Adapted from a recipe that appeared in the Montreal Gazette Food section
1 ⅓ cup flour
1 cup sugar
⅓ cup packed brown sugar
½ cup cocoa
1 tsp baking powder
¼ tsp salt
¼ cup margarine or butter, not melted
2 large eggs, lightly beaten with a fork
2 tsp vanilla
Icing sugar for rolling
Adapted from a recipe that appeared in the Montreal Gazette Food section
1 ⅓ cup flour
1 cup sugar
⅓ cup packed brown sugar
½ cup cocoa
1 tsp baking powder
¼ tsp salt
¼ cup margarine or butter, not melted
2 large eggs, lightly beaten with a fork
2 tsp vanilla
Icing sugar for rolling
Preheat oven to 350 degrees Farenheit.
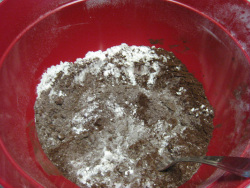
In a medium or large mixing bowl, combine the first 6 ingredients.
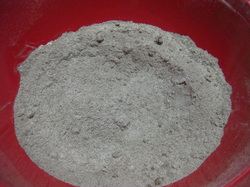
This is what the dry ingredients should look like after stirring with a fork:
Add the margarine or butter and combine with a fork till the mixture is crumbly. At this point you can get in there with your hands so the bigger margarine pieces crumble together with the dry ingredients a little better.
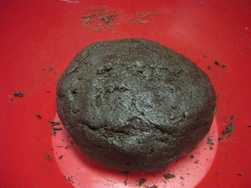
Add the eggs and vanilla, and mix by hand until dough comes together. The dough will seem crumbly and dry, keep kneading it until it becomes a dark chocolate brown homogenous dough.
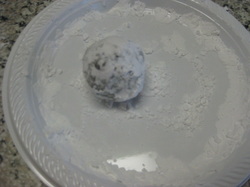
Pour some icing sugar in a small plate. Roll the dough into balls of desired size and coat fully in the icing sugar.
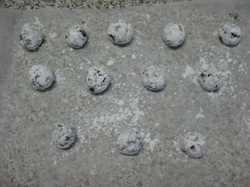
Arrange on a cookie sheet and bake for 12 minutes until edges are just set. Cookies will be very soft to the touch but don’t worry they harden as they cool. This is a cookie you don’t want to overbake or it will be dry and tough and very crispy.
Let cool on the tray and then transfer to a cooling rack. They freeze very well (I always use Ziploc bags).
 RSS Feed